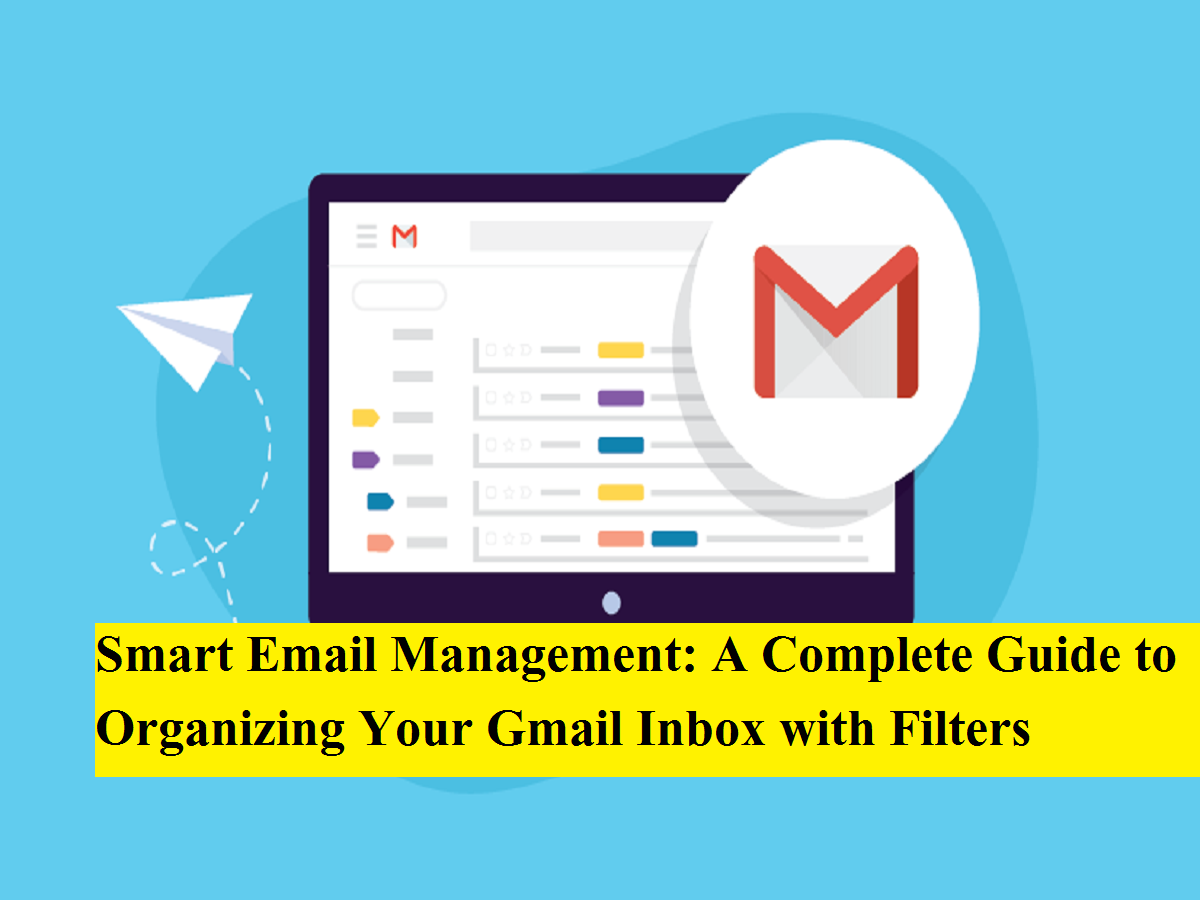
A cluttered inbox can quickly become overwhelming, especially when promotional emails, newsletters, and unnecessary messages mix with important work or personal communication. For many users, managing hundreds of emails every day can waste valuable time and reduce productivity. Fortunately, Gmail offers a powerful feature called filters that helps users automatically organize incoming emails and keep their inbox clean and structured.
Gmail filters work like virtual folders that perform actions based on rules you set. These actions can include labeling messages, archiving them, deleting unwanted emails, starring important ones, or even forwarding specific messages to another address. By using filters effectively, users can transform their inbox into a well-organized communication hub instead of a chaotic message list.
This guide explains what Gmail filters are, how to create them, and why they are essential for maintaining a tidy inbox.
Why Gmail Filters Are Important
With the growing number of subscriptions, notifications, and automated emails, it is common for inboxes to fill up quickly. Scrolling endlessly to find one important email can be frustrating and time-consuming. Filters solve this problem by automatically sorting emails as soon as they arrive.
Some key benefits of using Gmail filters include:
- Highlighting important emails so they never get lost
- Automatically separating bills, receipts, and official documents
- Keeping promotional or less important messages out of the main inbox
- Reducing manual effort in deleting or archiving unwanted emails
- Making it easier to search and retrieve specific messages later
Filters are especially useful for professionals, students, and anyone who receives a high volume of emails daily.
How Gmail Filters Work
Gmail filters are based on conditions you define. These conditions can include:
- Sender or recipient address
- Subject line keywords
- Specific words in the email body
- Message size
- Date of sending or receiving
- Presence of attachments
Once a filter is created, Gmail automatically applies the selected action to all new emails that match the criteria. However, it is important to note that filters usually affect only future messages, not old ones, unless you manually apply them to existing emails.
Steps to Create a Gmail Filter Using Search Options
To create a filter, Gmail must be accessed through a desktop browser, as the mobile app does not support full filter creation.
Follow these steps:
- Open Gmail on your desktop.
- Click on the search bar located at the top of the inbox.
- Select the filter icon (three horizontal lines with small slashes).
- A filter menu will appear where you can enter conditions such as sender, subject, keywords, or attachment status.
- After entering your criteria, click on Create filter or Search.
- Choose what action Gmail should take, such as label, archive, delete, star, or forward the email.
- Save the filter to activate it.
Once completed, Gmail will apply these rules to future emails that meet the same conditions.
Creating Filters from Existing Emails
Users can also create filters directly from emails already received. This method is helpful when you want to organize similar emails in the future.
Here is how to do it:
- Open Gmail on your desktop.
- Select the checkbox next to the email you want to use as a reference.
- Click the three-dot More menu.
- Choose Filter messages like these from the list.
- Add or adjust the filter conditions as needed.
- Click Create filter and select the action Gmail should perform.
This method saves time and ensures that future emails from the same sender or with similar content are handled automatically.
Important Points to Remember
- Filters can only be created and managed on the desktop version of Gmail, not the mobile app.
- Filters generally apply only to newly received emails unless you choose to apply them to existing ones.
- Replies to filtered emails will only be filtered if they match the original filter conditions.
- You can edit or delete filters anytime from Gmail settings.
Advantages of Using Gmail Filters
Using filters can dramatically improve inbox efficiency. Some major advantages include:
- Prioritizing critical emails from banks, offices, or family
- Keeping bills, receipts, and confirmations in one organized place
- Automatically archiving important details such as order numbers or tracking information
- Forwarding specific emails to another account or team member
- Reducing clutter by grouping less important messages separately
This level of automation allows users to focus on what truly matters instead of manually sorting emails every day.
Final Thoughts
Managing email overload is a challenge faced by millions of users worldwide. Gmail filters provide a smart and effective way to stay organized without spending hours cleaning up the inbox. By setting up simple rules, users can ensure that important messages are always easy to find and distractions are kept under control.
As part of Google’s continuous effort to improve productivity tools, Gmail filters remain one of the most useful features for personal and professional communication. With a few minutes of setup, users can enjoy a cleaner, more structured inbox and save valuable time every day.
If you want to regain control over your emails and improve digital productivity, using Gmail filters is one of the simplest and most effective solutions available today.